The stores are filled with cute and inspirational framed Word-Art these days. While I love the cute quotes, I prefer the look of embroidered artwork. Embroidery makes the framed art look more expensive and I can customize my design by adding elements such as other embroidery designs which further enhance the end result. Embroidered artwork also makes a great gift because it can be customized to fit the personality of the receiver.
OK, so the first thing you need is a picture of a word art that you would like to clone. There are a couple ways to get this. When you are shopping if you see something that inspires you, take a picture of it using your smart phone. In fact, this is a great way to get inspiration!
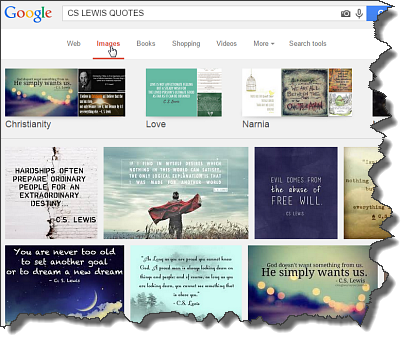
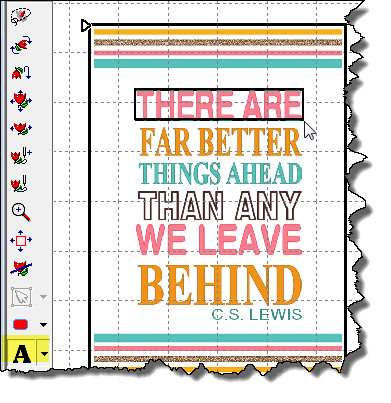
Another great source of ideas is the internet. Try these search words for starters "framed words" or "quotes" or even just "word art". In addition to the basic search, you should add a word or two of subject just to narrow the results. For example, you could use "love" or "dentist" and find better matches. You can see in the example on the right, I searched for "CS Lewis Quotes" and found lots of great ideas for my project.
You will want to look at the images search results so if you are using Google, just click on the Images option to select only image results. When you find an idea you like, open the page and right-click on the image to open the context menu and then choose Save Image As.... You will need to put the image on your computer someplace where you will be able to find it later. I usually use a folder on my Windows desktop.
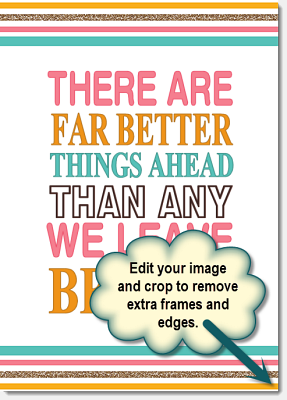
Using your favorite graphics program, crop out anything extra like backgrounds, frames and the like. You want to crop to the inside frame dimensions, including any margin that is around the lettering so that the spacing will be correct when framed. The example on the right shows a drop shadow that was cropped before proceeding to the next step.
Now we are going to open this graphic in BuzzWord as a background image. So start the BuzzEdit 4 Toolkit, select your file type and then set your hoop size using the View > Hoop Properties command. Choose the biggest size hoop you have that is closest in size to the word art. I have an embroidery machine that includes a 5x7 hoop so that is what I selected for this project.
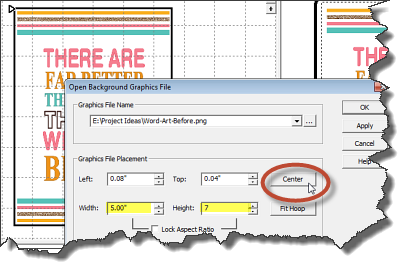
Now open your background image using the File > Open Background (or use the toolbar button on the main toolbar). You will navigate to your graphic and set the size of the graphic to the size of your finished project. Use this size even if it is too big for your embroidery hoop because you want your embroidery to fit the picture frame. You may need to turn off the aspect ratio for it to size correctly. Usually that isn't a big deal - we're talking about lettering. Before you click OK, be sure to click the CENTER button to center the graphic in your workspace.
Now is the fun part! Click the Create Text button on the vertical toolbar and drag a box around the first line of text. You've just entered a text box the exact size of your first line. Enter your text and select a font for your lettering. If you have the TrueType Font Add-On Module, it's easy to find fonts that coordinate with your word art.
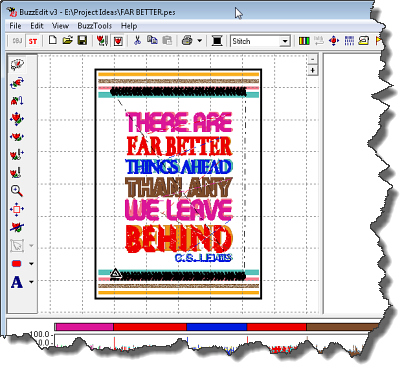
In this example, I used thread colors different than those of the original design so that it would make the embroidery stand out from the background image. You can see that when you are done, it looks a little bit like you have blurred vision. This isn't a problem because we are only using the background image for placement of the lettering and it won't be on our finished project.
At any time while your working on your project, you can quickly preview your design without the background by clicking on the View Actual Size Popup button on the main toolbar.
To add embroidery designs to your project, use the File > Insert Design command. Or you can add line of special characters such as the line of TrueType Font Wingdings on the top and bottom of my embroidery project.
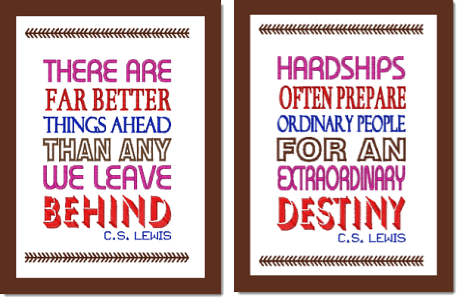
That's pretty much it! Remember that you don't have to keep the wording the same as in the original. For this example, here I also used this basic layout to create a matching CS Lewis quote.
When these designs are stitched, I prefer to use permanent iron-on stabilizer since the stabilizer doesn't really need to be removed. I also prefer to use a heaver fabric that will maintain its shape when stretched and taped to a cardboard backing and framed. Embroidery looks best without the glass of the picture frame because the glass tends to add glare and hide the beauty of the stitching.
COPYRIGHT REMINDER: Have fun but please remember - these project should not be resold unless you dramatically change the layout or wording of the Word-Art. If you are cloning something exactly, please limit to personal use or gifts.