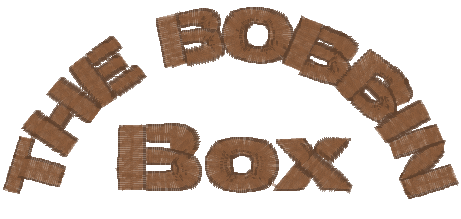
Getting an auto-digitizing program such as Buzz-2-Stitches to automatically create satin stitch text from graphics can be challenging. While thin, cursive type letters may produce beautiful satin stitch lettering, wider letters are sometimes a disappointment because some of the letters may be generated as fill stitch. If only you could help Buzz-2-Stitches to understand what your want in your letters!
Fortunately you can! In less then 5 minutes, you can perfect your graphic so that Buzz-2-Stitches will generate the beautiful lettering you desire. All you need is the original graphic and Windows Paint...
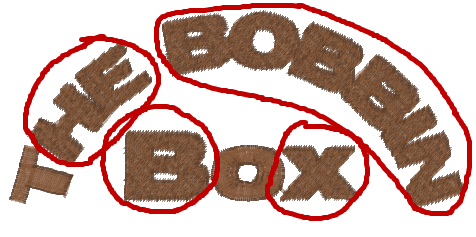
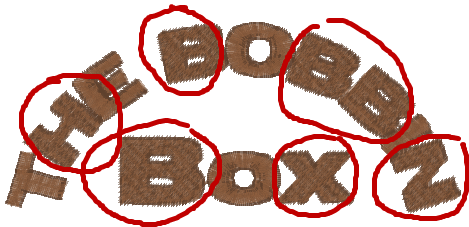
In the example below, some of the letters are being generated as fill stitch. Buzz-2-Stitches default style of Text was used. Circled areas were generated in fill stitch and they should be in satin stitch. Changing the Buzz-2-Stitches settings alone do not fix the problem.
Total Time to perfect this graphic
was less then 5 minutes.
We will be fixing
the problems caused by the letters touching each other and we
will add definition to the lettering strokes so that Buzz-2-Stitches
knows how to process them. Please read on.
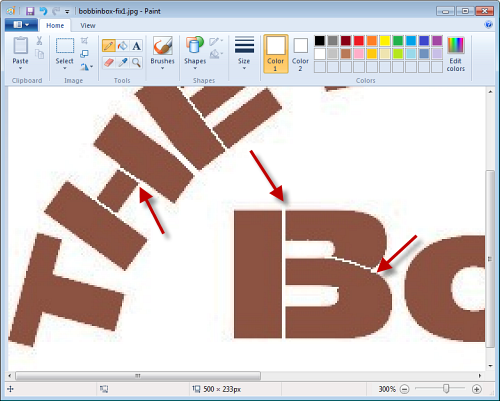
We have zoomed in on an area of the graphic.
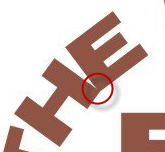
Notice how the bottom edges of the letters are touching (circled in red). While the letters look separate to us, a computer digitizing program can only see the total shapes. In the example above, the "HE" form one shape.
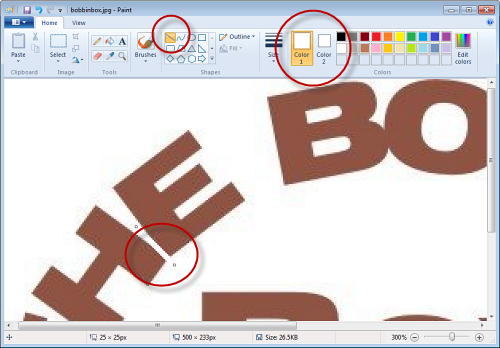
Like all auto-digitizing programs, Buzz-2-Stitches cannot predict the strokes used to create a letter. We (as humans) are familiar to writing them so we intuitively know that an "H" is actually made of three separate lines -- the two verticals and the horizontal bar. In the next step we are going to define these strokes so that Buzz-2-Stitches will give you the lettering results you desire.