
It's easy to create a multi-hoop design in BuzzEdit 4. For customers though, one of the hardest things to understand is how to create a multiple hoop layout. Software is based on math and let's face it, machine embroidery is a creative process and nothing like Algebra class :-)
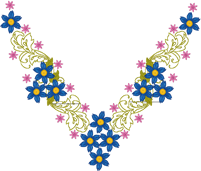
This lovely neckline features a design by Adorable Ideas and is available for purchase from EmbroideryDesigns.com. The embroidery design is 10x7 and does not fit into our 5x7 hoop but we'll show you how to create a multi-hoop so it can be sewn in the smaller hoop. After printing templates and planning the T-Shirt layout, it is time to split the design in BuzzEdit.
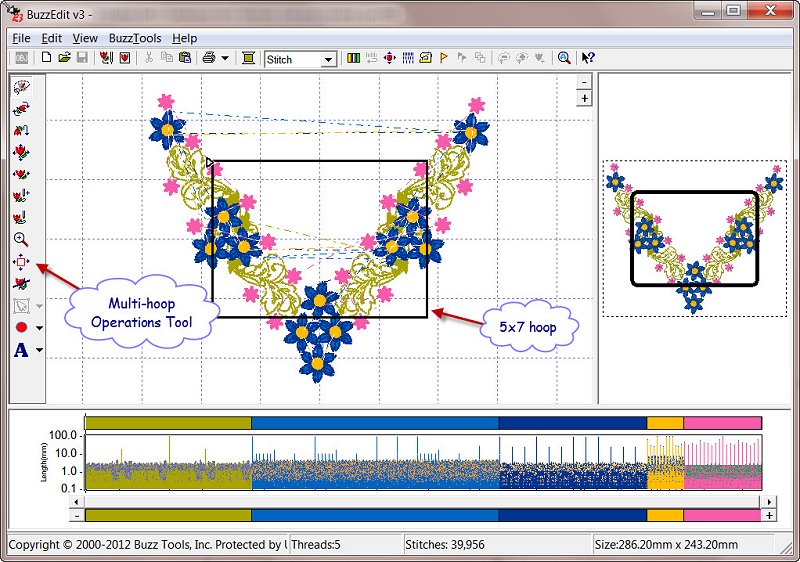
Using a 5x7 hoop, a custom multi-hoop design is created by selecting the Multi-Hoop Operations tool. Two hoops appear on the screen and Hoop 1 is active as shown by the RED highlight. To have a vertical hoop orientation correct for the left hoop, change the hoop rotation to left. This option is on the Only the selected hoop changes in the Stitches in Space window
Selecting the Multi-Hoop Operations tool
Dragging the hoops into position
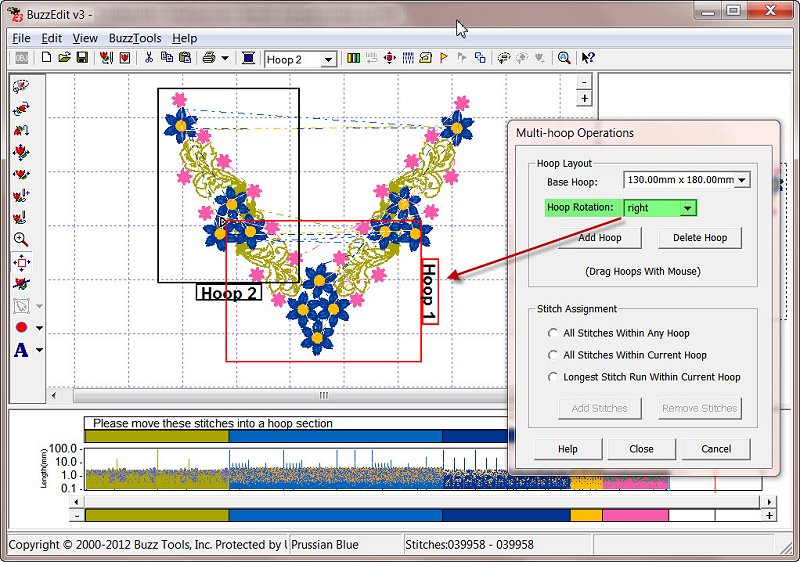
Drag the hoop using the mouse cursor on the Hoop 1 "bracket" so that it surrounds the stitches on the left of the design. For this design, we are careful to ensure that the hoop covers all of the left-side green stems.
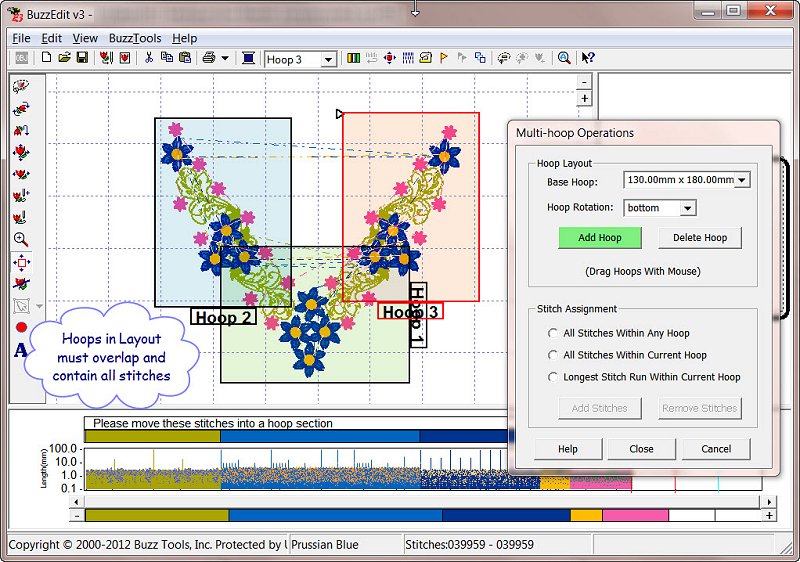
Now move Hoop 2 to the bottom of the design. Select this hoop by clicking on its bracket. It will change to RED when it is the active selection. Move it so that it overlaps Hoop 1 and contains the stitches at the bottom of the design.
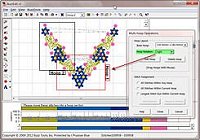
This design needs one more hoop to complete the layout. Select the Add Hoop (shown in yellow highlight in the image to the right). Rotate the hoop to the right and then drag it by the hoop bracket until it overlaps Hoop 2 and contains the rest of the right side. As you can see, you can combine both horizontal and vertical hoops using the Multi-Hoop Operation Tools dialog and your hoops can be rotated any way you need.
Adding Additional Hoops
Splitting the design

Now that the layout is complete, we can split the design directly from this dialog. Select the splitting option you would like to use - this example used the All Stitches within Any hoop option with Fewest Hoops - click on the Add Stitches button and BuzzEdit assigns the stitches to the hoop sections in Time.
In order to line the design sections up at the machine, we need to put in alignment lines. This is done from theBuzzTools > Mult-Hoops > Insert Multiple Hoop Alignment Stitches command. Use the default stitch length and make sure that the thread color is different from that used in the design so that the machine will stop after stitching the lines. Save your work, print out your templates and worksheets from the File menu and enjoy stitching the project.
