

When merging multiple designs into a new layout, it sometimes makes sense to overlap them. However appealing this may be to the eye, it can cause problems at the machine because the overlapped area are double stitched - first for the bottom layer and then again for the top layer. It you have ever tried this you know where it can lead - to a thick matted embroidery and a potential mess at the machine.
So be good to your embroidery machine and at the same time, create better looking embroideries by fixing the problem before you sew it. With BuzzEdit, this is easy to do and is worth the little extra effort
In our example, we are using two designs downloaded from the Buzz Tools Sharing pages. They were imported separately into an empty BuzzEdit workspace.
If you look closely at the zoomed in area shown in figure 1, you can see where the two designs overlap. The excessive stitches in this area that would not sew well and would look too bulky. BuzzEdit to the rescue!
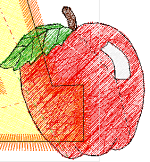
Figure 1
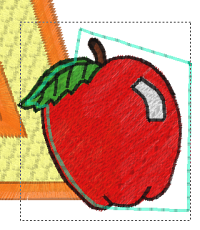
Figure 2
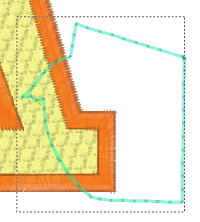
Figure 3
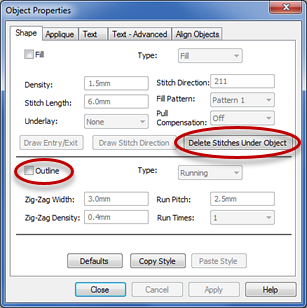
Figure 4
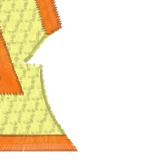
Figure 5
Figure 6