
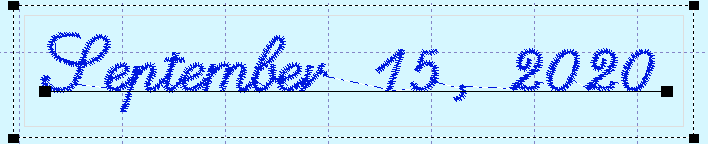
Have you ever created text using one of the BuzzWord standard fonts and wanted to move the words or letters closer together but didn't know how? Or perhaps you wanted to nudge a couple of letters further apart? The characters in the standard fonts have default character spacing which looks good most of the time. However, character spacing can be tricky and the default spacing isn't always ideal. Depending on the shape of the letters used and the slant of the font, sometimes less or more space looks better. For example, let’s say you want to embroidery "September 15, 2020" using the script font. You’ll get something like this:
Notice how the "S" angles away from the "e" in "September". This creates more space then if you were writing "March" which has more upright characters. To reduce the spacing between these two letters, first position the cursor by clicking between the letters in the text field of the Object Properties dialog. Then use the Character Spacing at Cursor - button to move the characters closer together. If you wanted to add more space, you would use the + button.
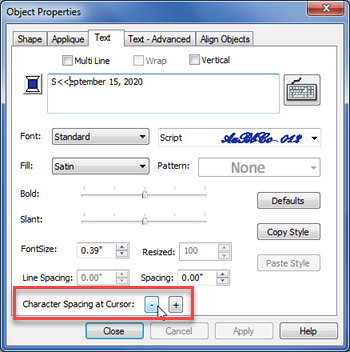
You'll notice when you use this command that the symbols < and > are inserted into the text field of the Object Properties dialog. This is because these characters have a special usage in the standard fonts. Rather than being used as the Less Than or Greater Than symbols, these characters are used to set unique spacing between letters bringing letters nearer or further away from each other! In addition to using the character spacing command discussed here, you can also type these characters directly into the text field to adjust character spacing (standard fonts only).

In the above example, we snugged up the lettering in several spots and here is our finished result!